Google Cloud Functions
Google Cloud Functions with DevCycle Feature Flags
DevCycle is purpose-built to work at edge, and just because you're building in serverless environments does not mean you need to stop using feature flags!
If you're a team on GCP and utilizing Google's Cloud Functions, this document will outline exactly how you can get started with Feature Flags without any difficulty.
Example Project for Google Cloud Functions & DevCycle
To get you up and started, we've put together an example repository to be used to follow along with in this guide
https://github.com/DevCycleHQ/google-cloud-functions-example
Setting up your Features
Before setting up your Google Cloud function, we will set up three Features on the DevCycle dashboard of three different types: campaign-switch (Boolean), campaign-details (JSON), dec-campaign-proposed-name(String).
To set the feature flags, make sure you have a DevCycle account.
-
Click “Create New Feature” from your “Feature" page or clicke the
+button on the navigation bar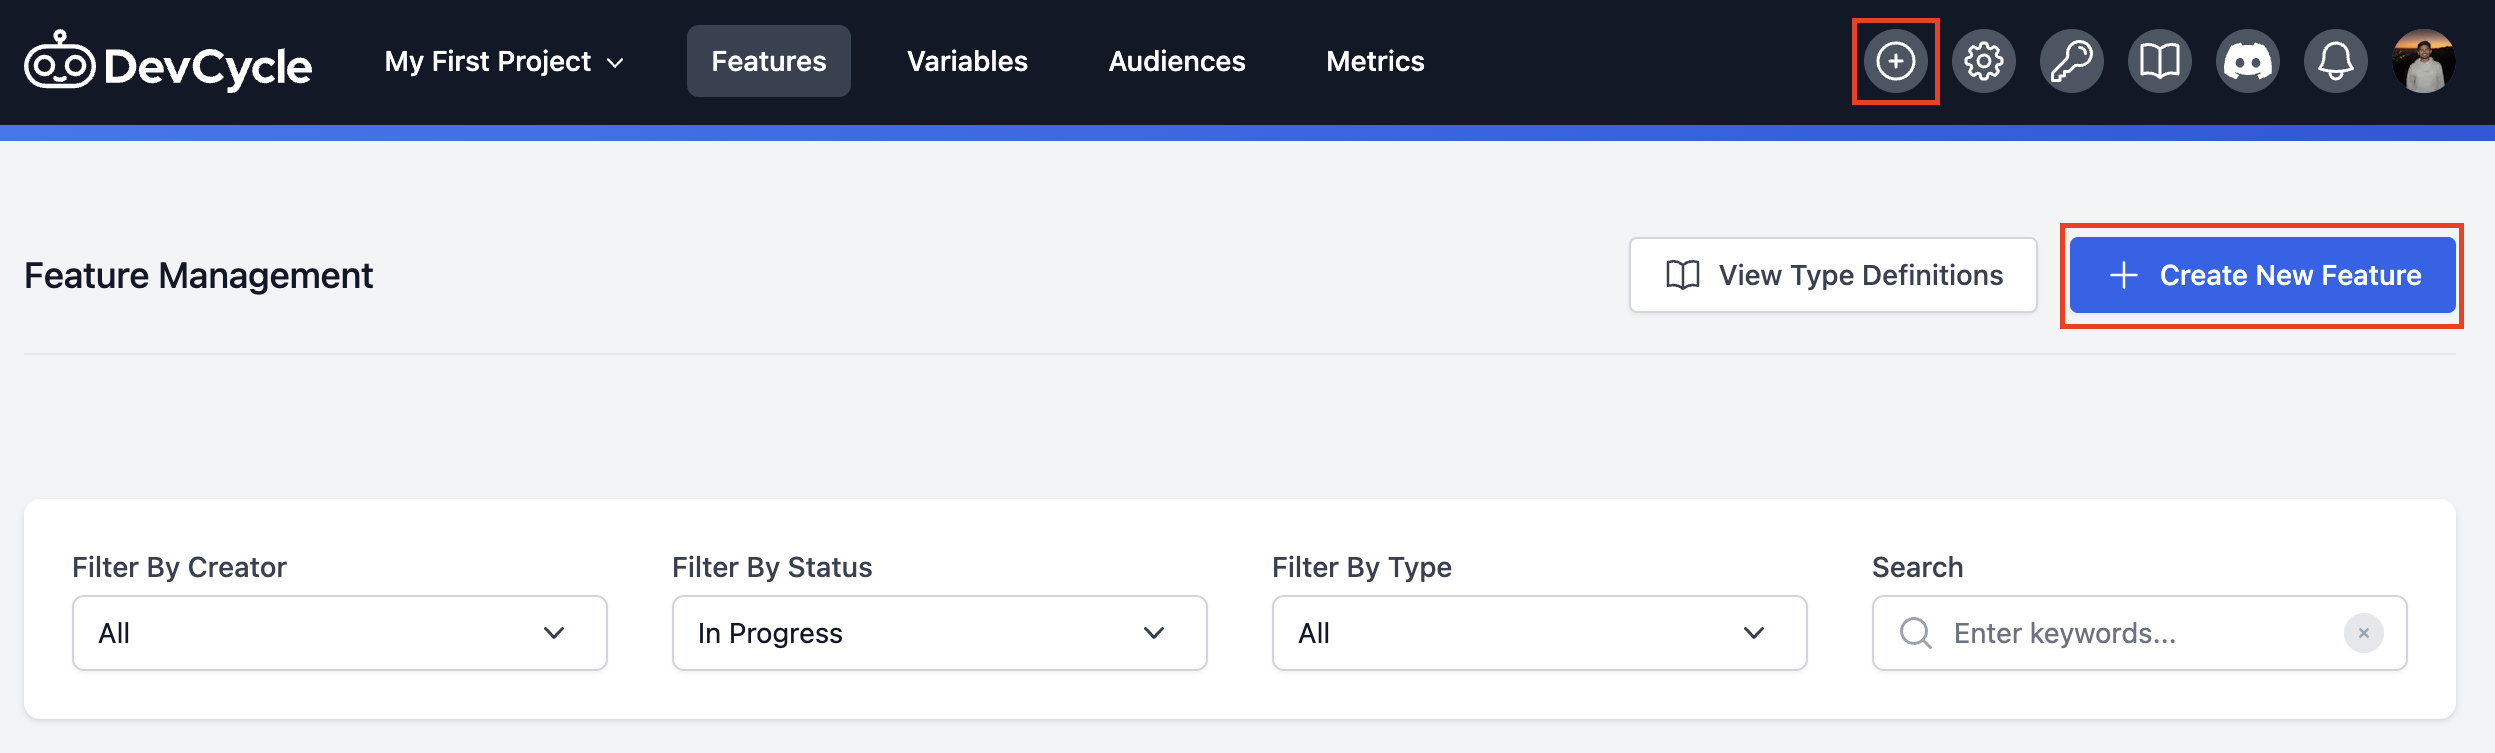
-
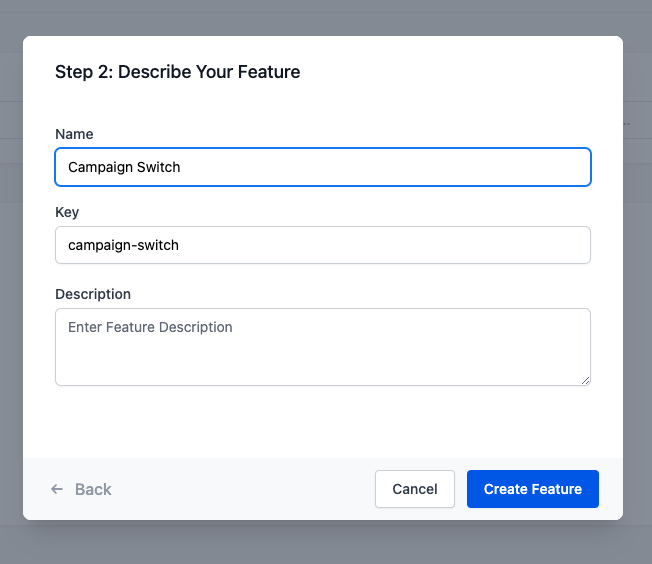
Click “Release” and type in the feature flag name in the popped up modal.
-
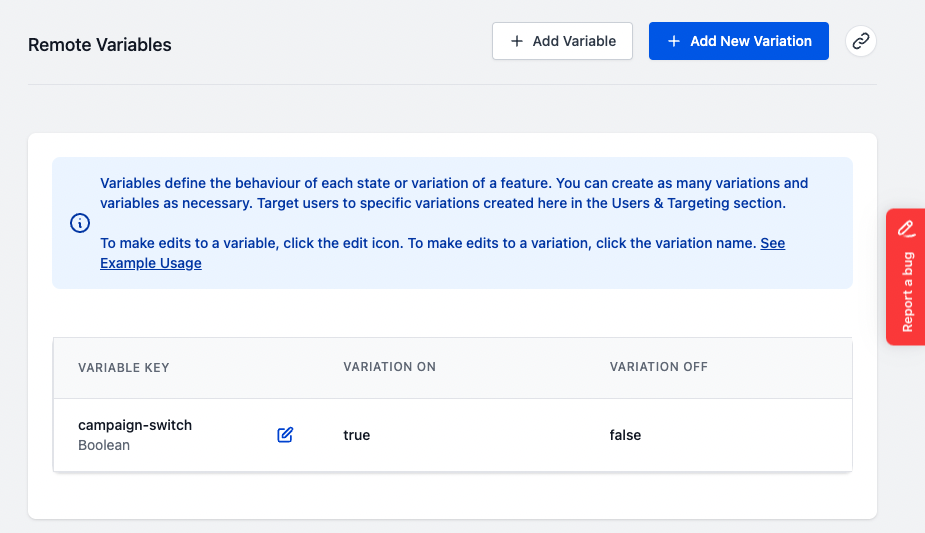
By default, you will see a Boolean feature flag
-
Repeat step 1 - 2 for
campaign-detailsanddec-campaign-proposed-name -
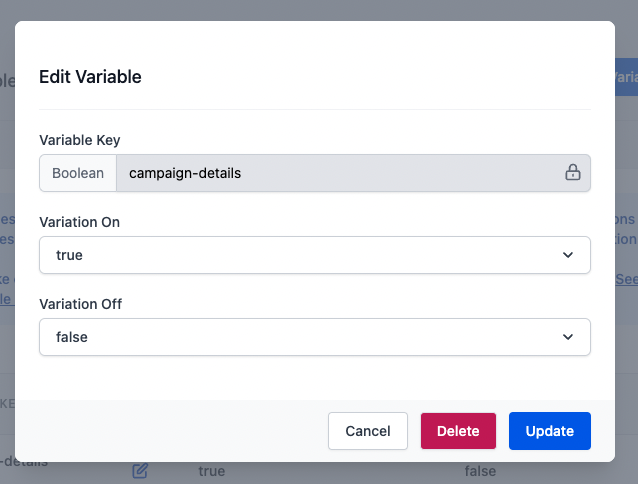
For
campaign-details(JSON) anddec-campaign-proposed-name(string), you will need to remove the default boolean flag by clicking the edit button next to it and “Delete” in the popped up modal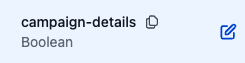
-
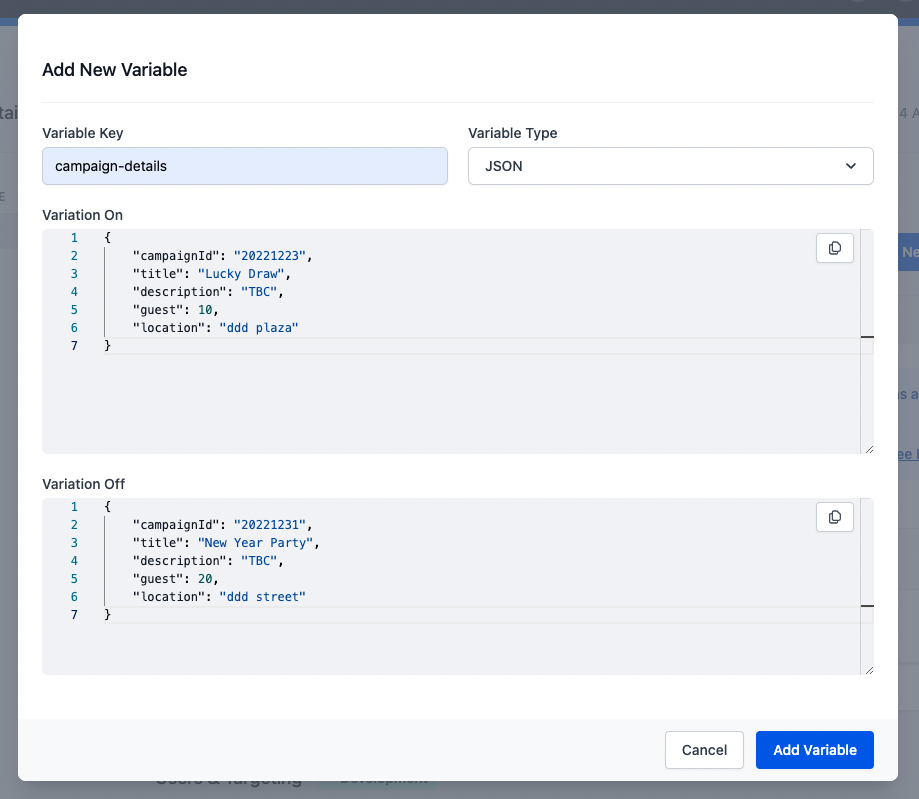
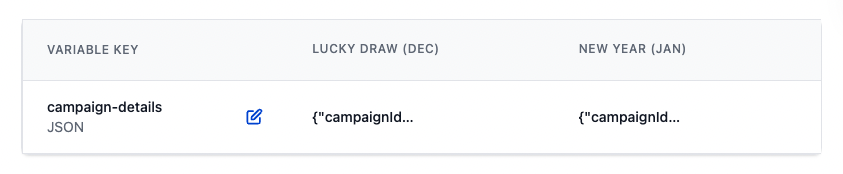
For
campaign-details(JSON), “Add Variable” withJSONtype and put in the object as below
-
For
dec-campaign-proposed-name(string), “Add Variable” withStringtype and put in the string as below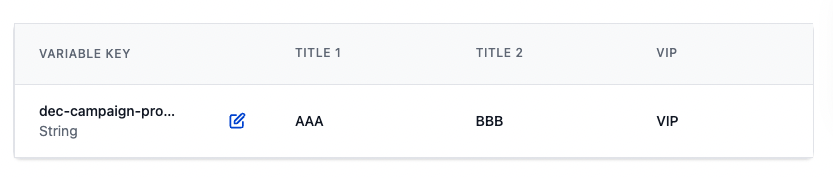
-
“Save” after editing the variable and variations

Setting Up a Google Cloud Function
-
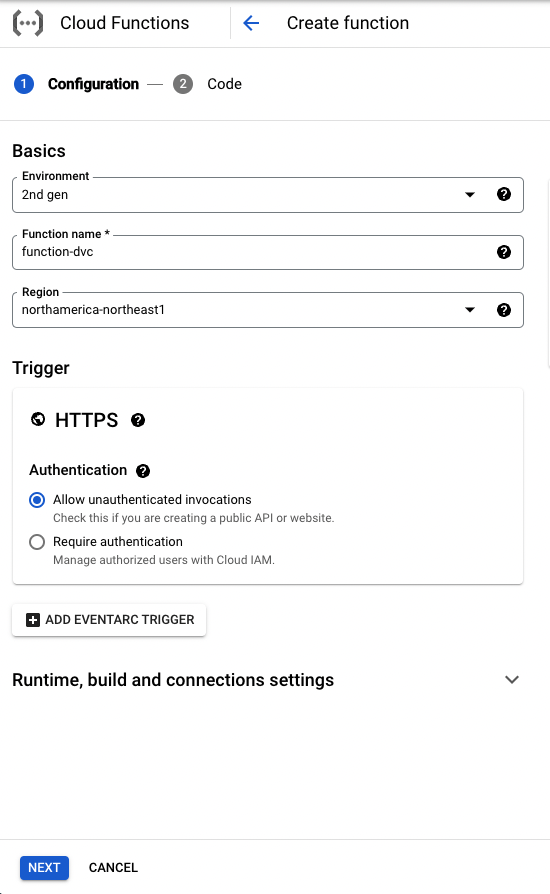
Go to your Google Cloud Functions console(https://console.cloud.google.com/functions) to create a function. (For more info from Google)
-
Follow below configurations
-
Add the environment variable
SERVER_KEYunder “Runtime environment variables” (Related Google Doc For getting the server-side SDK key from DevCycle, you can read this section (https://docs.devcycle.com/platform/account-management/keys)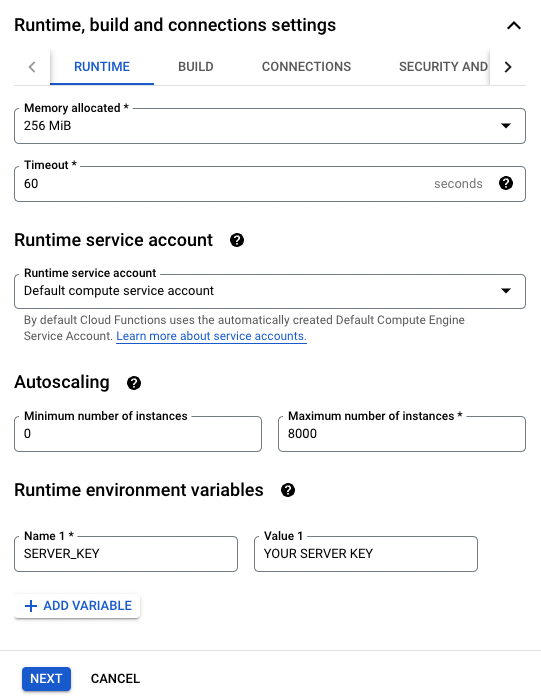
-
Click “Next” and enter the (contents of the
index.jsfrom the example repo) into the Console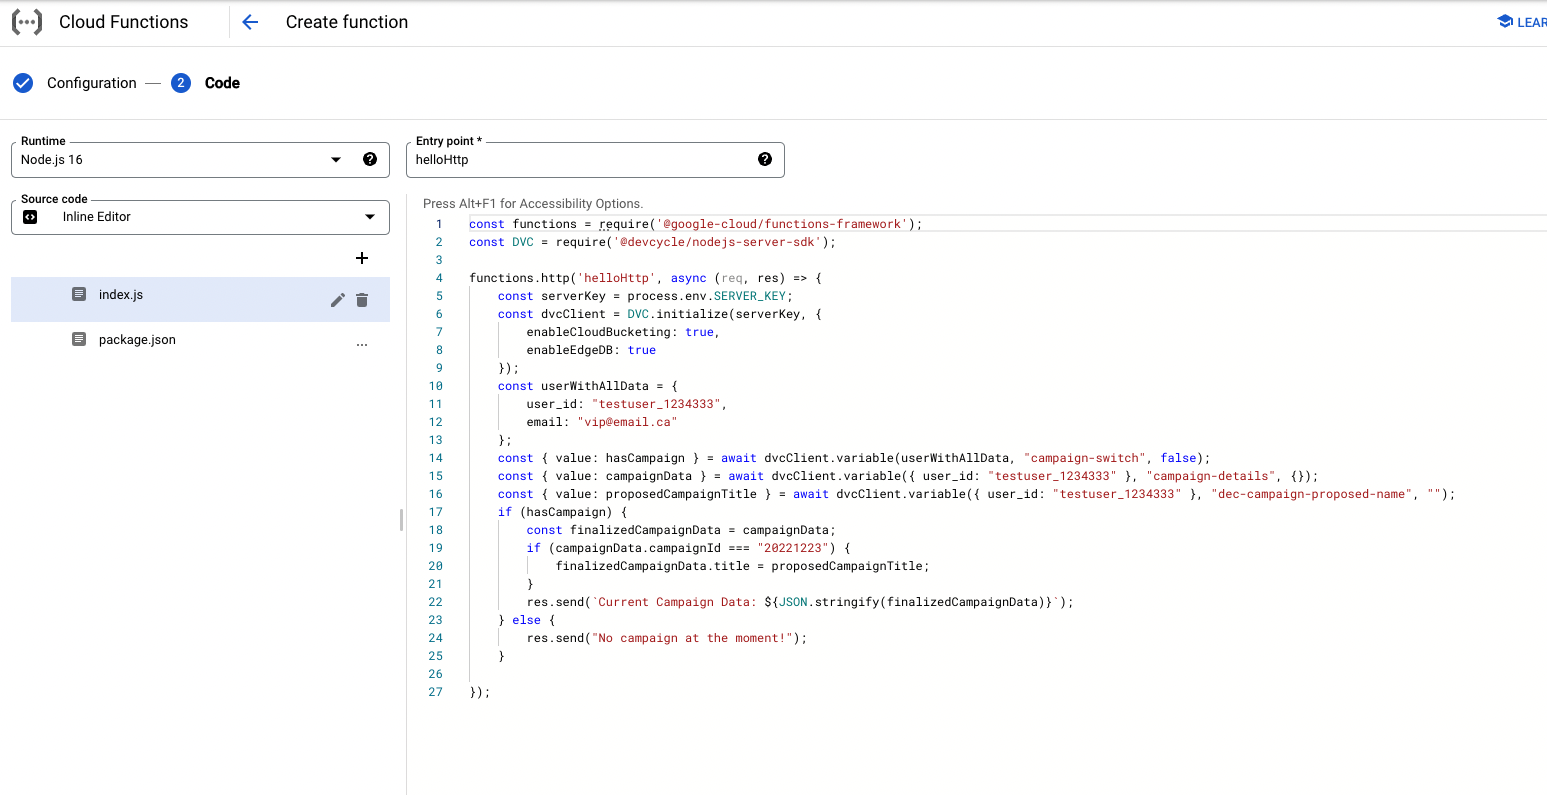
-
Add the DevCycle SDK to
package.json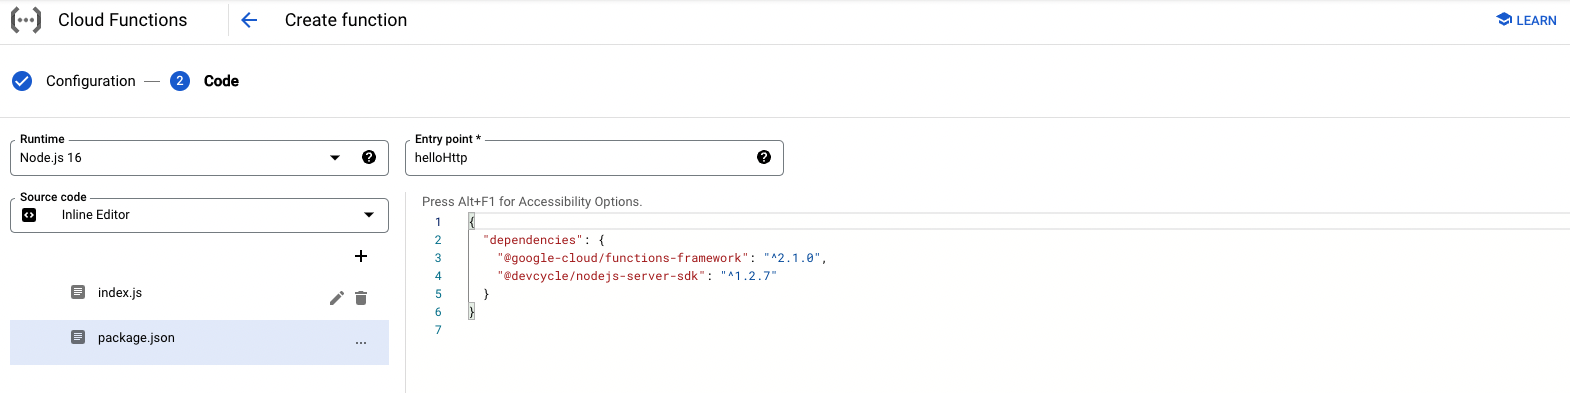
-
Click “Deploy”, once finished, you'll be given a URL

-
Go to that URL and you should see the Feature info we set up!

-
You can play around with the feature flags we have created earlier to see the result changed in the page.
-
For example, let’s “Serve” the “Variation Off” for
campaign-switchand “Save”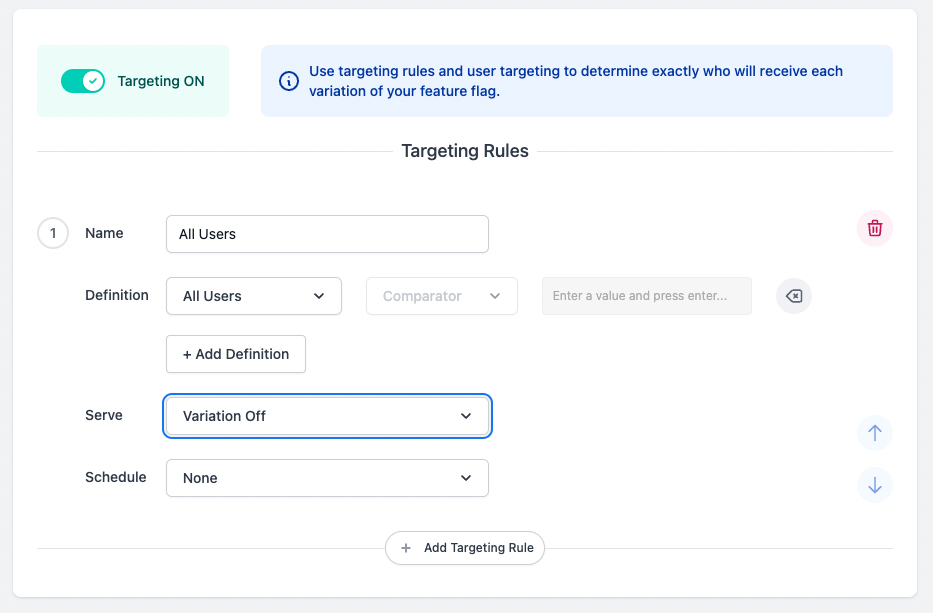
-
Refresh your function's page
-
You should now see the following result in the page:

Serverless with EdgeDB
EdgeDB is purpose built to work at edge, and when used in conjunction with a serverless system like Cloud Functions, it actually makes the entire system even faster!
Here is some more reading:
Enable EdgeDB (NodeJS SDK Version)
First, you need to enable EdgeDB in the DevCycle Dashboard
With the DevCycle NodeJs SDK we use the enableCloudBucketing and enableEdgeDB options to enable EdgeDB usage. (SDK initialization option details: )
const devcycleClient = initializeDevCycle(serverKey, {
      enableCloudBucketing: true,
      enableEdgeDB: true,
})
With EdgeDB enabled, you can save user data to our EdgeDB storage so that you don't have to pass in all the user data every time you identify a user.
Like this part of code from our example code, we only need to pass in the whole set of user data for the first time. After that, we only need user_id to get the rest of the data we have set in EdgeDB
const userWithAllData = {
	  user_id: "testuser_1234333",
	  email: "[email protected]"
};

const { value: hasCampaign } = await devcycleClient.variable(userWithAllData, "campaign-switch", false);
const { value: campaignData } = await devcycleClient.variable({ user_id: "testuser_1234333" }, "campaign-details", {});
const { value: proposedCampaignTitle } = await devcycleClient.variable({ user_id: "testuser_1234333" }, "dec-campaign-proposed-name", "");
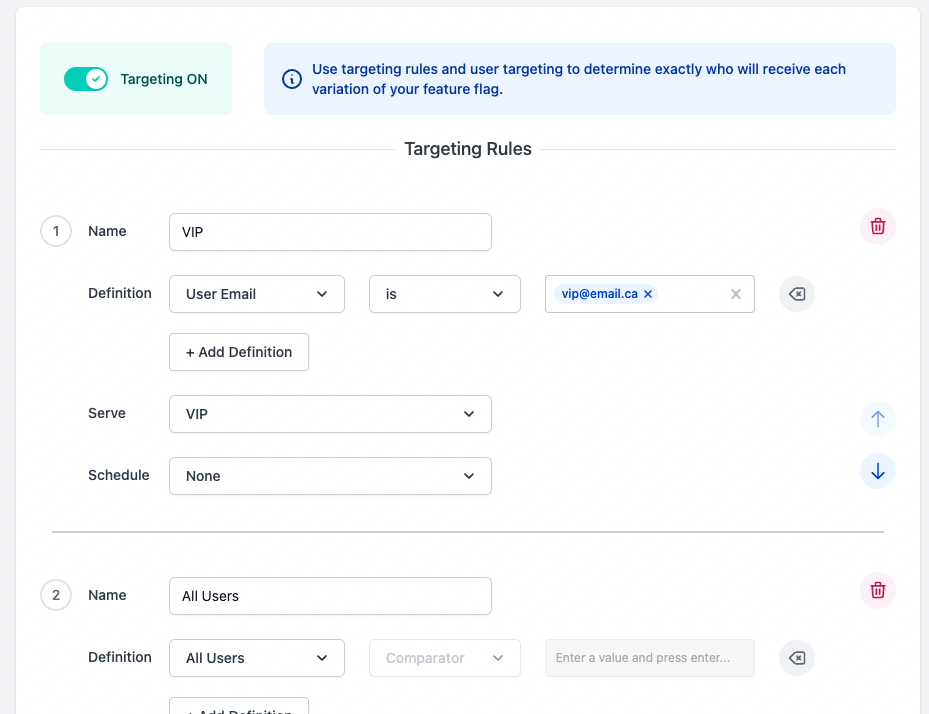
With the VIP variation set in dec-campaign-proposed-name, we can head to the dec-campaign-proposed-name Feature in the dashboard and test EdgeDB:
-
Add a targeting rule with name “VIP” and move it above “All User” rule.
-
In the Definition, select “User Email” and type in the email we have set in EdgeDB (i.e.
[email protected]) -
From the “Serve” dropdown, select “VIP”
-
Click “Save”
-
Go back to the google cloud function URL and refresh, you should see the “title” change to “VIP” which means we don’t need to pass in email in the below variable request and get the data
emailfrom EdgeDB!
const { value: proposedCampaignTitle } = await devcycleClient.variable({ user_id: "testuser_1234333" }, "dec-campaign-proposed-name", "");
And the result!
