Azure Functions
Azure Functions with DevCycle Feature Flags
DevCycle is purpose-built to work at the edge, and just because you're building in serverless environments does not mean you need to stop using feature flags!
If you're a team on Azure and utilizing Azure Functions, this document will outline exactly how you can get started with Feature Flags without any difficulty.
Example Project for Azure Functions & DevCycle
To get you up and started, we've put together an example repository to be used to follow along with in this guide
https://github.com/DevCycleHQ/azure-functions-example
Setting Up Feature Flags For the Example
Story
Let's say you are a developer and working with the marketing team.
They have some small campaigns to launch in future months and want you to build a webpage to promote the events. Instead of changing the event details every time before the next event is launched, you can utilize DevCycle Feature Flags to help you coordinate with the marketing team.
The below example will demonstrate how you can use our feature flags with different types (Boolean, String, JSON) of variables.
In the example code, campaign-switch (Boolean), is a switch to turn on/off the feature.
Let’s say you have a campaign in October and December and don’t have one in November. You can just turn on your Feature Flag, campaign-switch, in Oct and Dec, and turn it off in Nov.
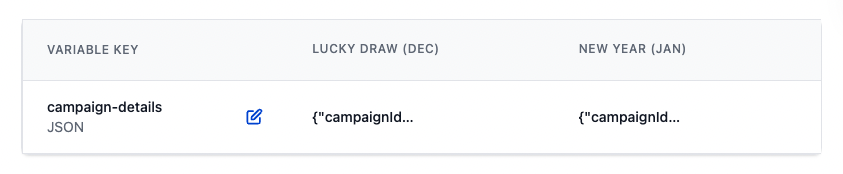
No extra deployment is needed can always be owned by the marketing team. For campaign-details (JSON), you, as a developer, can set a data template of what you need in the website and let the marketing team change it whenever they want, like the number of guests, campaign id and name.
For dec-campaign-proposed-name (String), it is convenient for the specific campaign team to add and choose the campaign name in the decision phrase. Sometimes we could have last-minute decisions, but with Feature Flags, the marketing team can change the campaign name easily by themselves (no coding needed!).
Next section helps you understand how we set the 3 feature flags in DevCycle!
Setting up the feature on DevCycle Dashboard
Before setting up your Azure function, we will set up three Features on the DevCycle dashboard of three different types: campaign-switch (Boolean), campaign-details (JSON), dec-campaign-proposed-name (String).
To set the feature flags, make sure you have a DevCycle account https://devcycle.com/.
-
Click “Create New Feature” from your “Feature" page or clicke the
+button on the navigation bar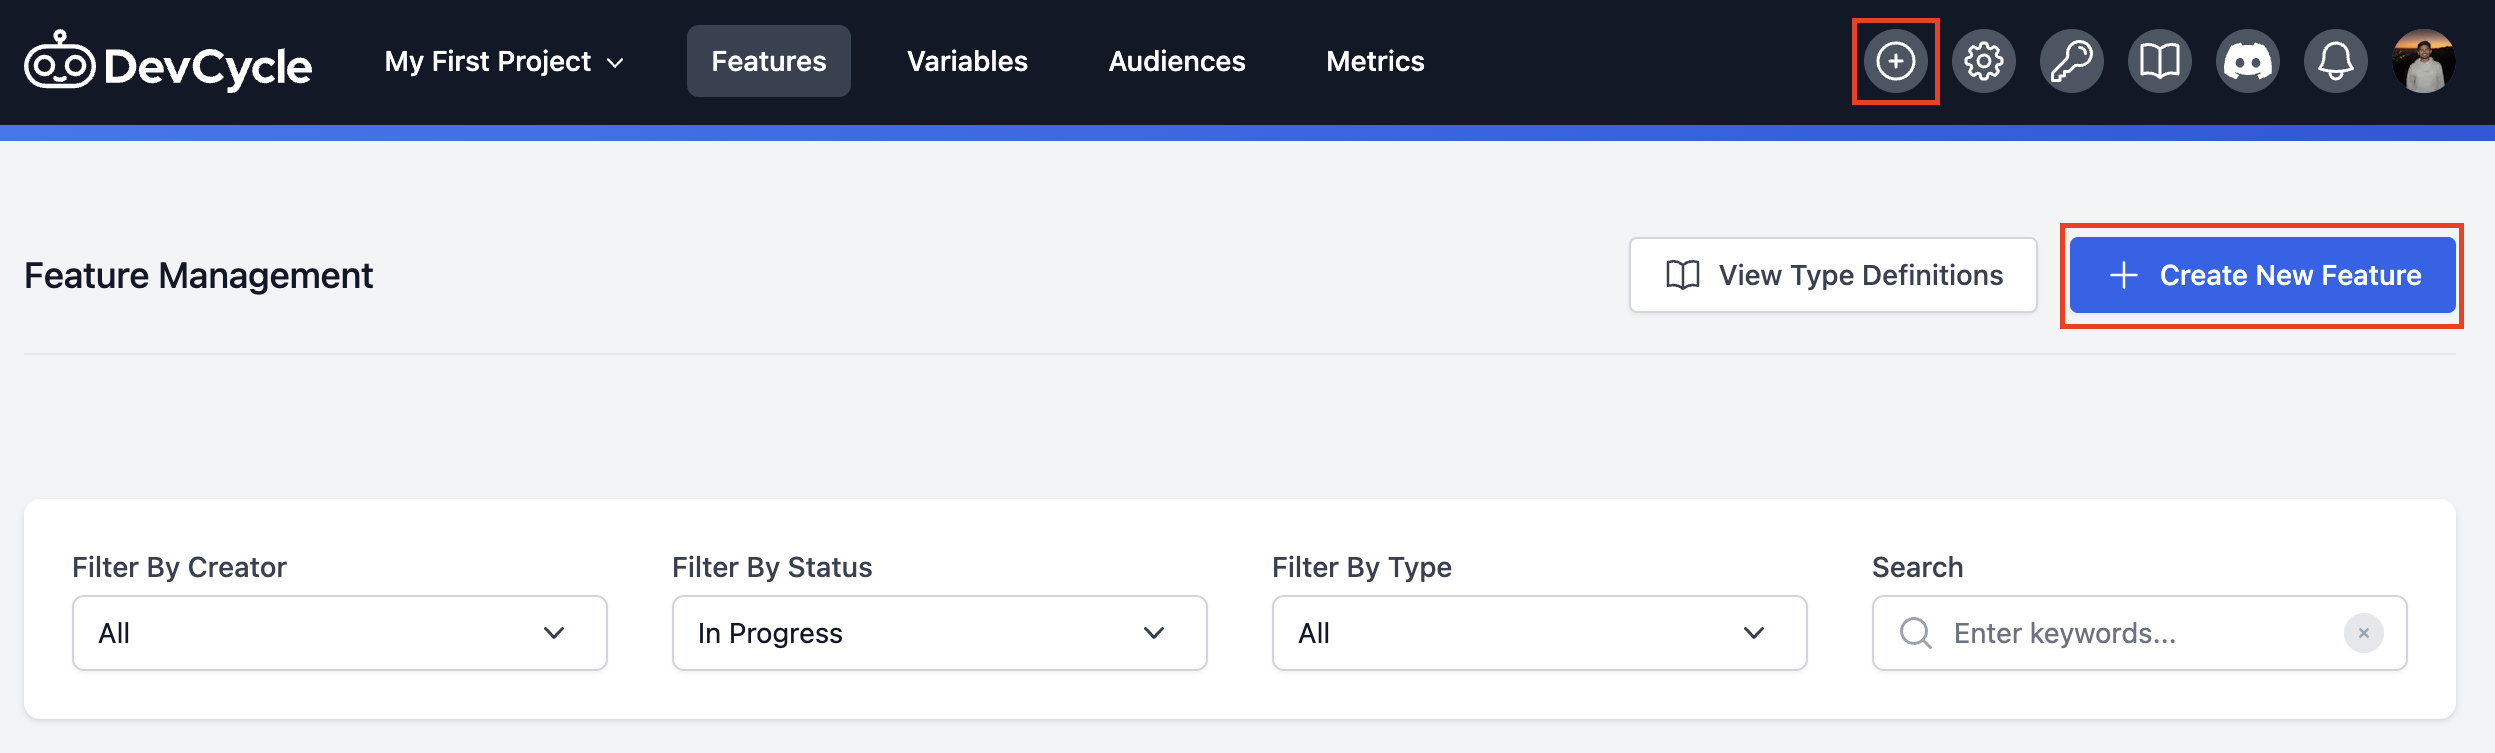
-
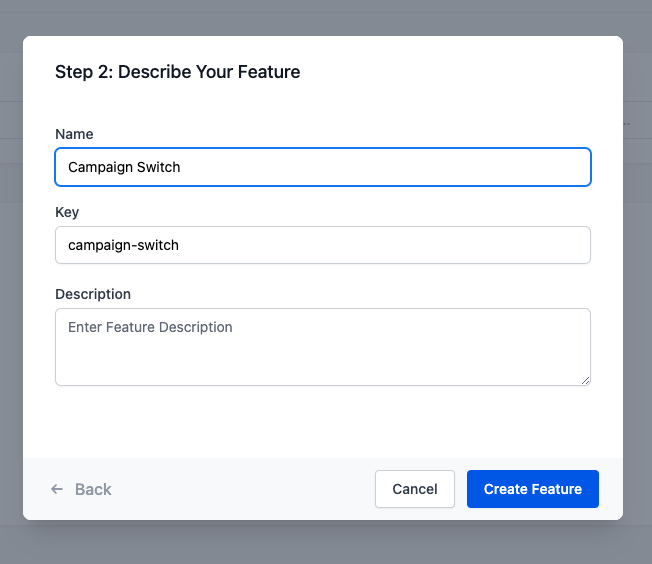
Click “Release” and type in the feature flag name in the popped up modal.
-
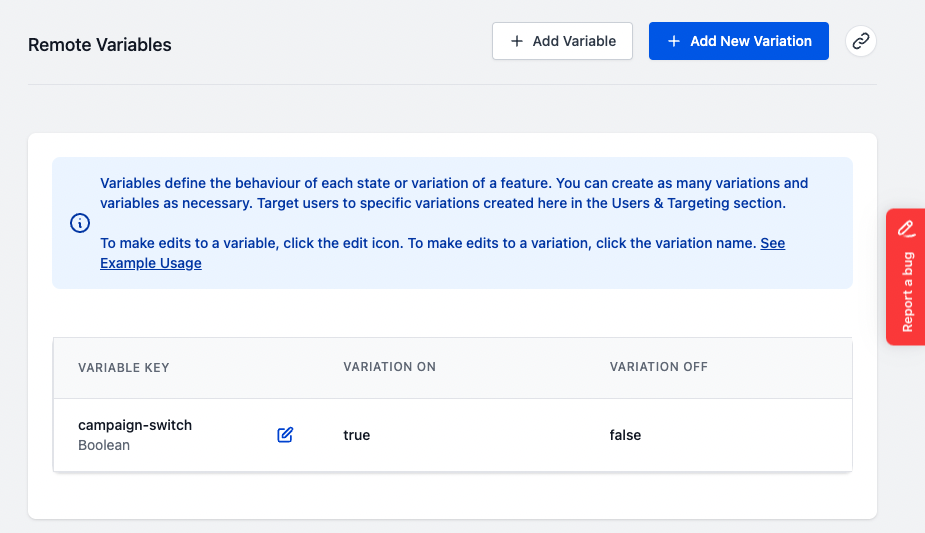
By default, you will see a Boolean feature flag
-
Repeat step 1 - 2 for
campaign-detailsanddec-campaign-proposed-name -
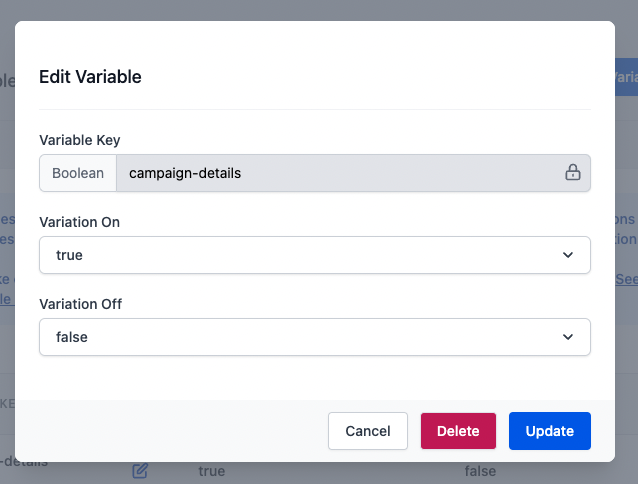
For
campaign-details(JSON) anddec-campaign-proposed-name(string), you will need to remove the default boolean flag by clicking the edit button next to it and “Delete” in the popped up modal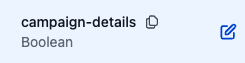
-
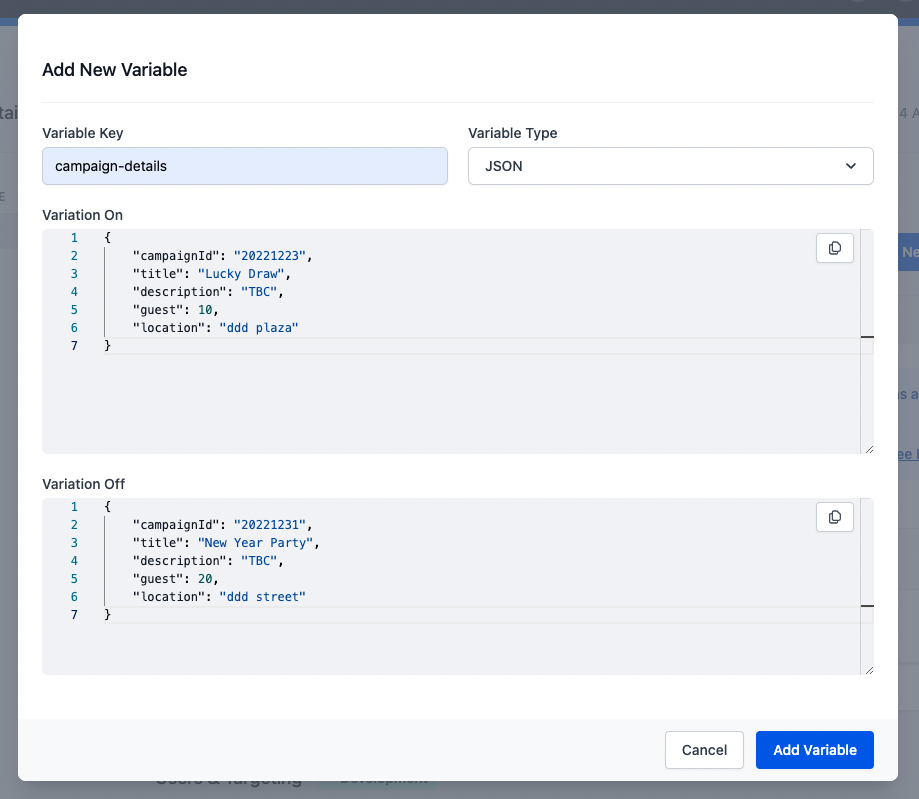
For
campaign-details(JSON), “Add Variable” withJSONtype and put in the object as below
-
For
dec-campaign-proposed-name(string), “Add Variable” withStringtype and put in the string as below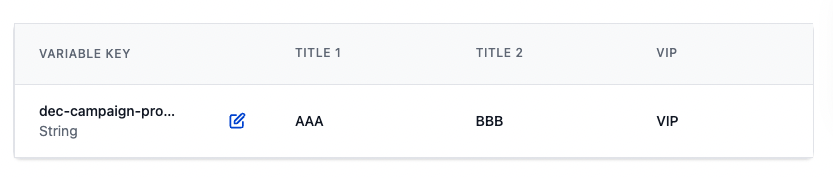
-
“Save” after editing the variable and variations

Setting Up Azure Function
This section will be using Visual Studio Code to integrate with Azure Functions, make sure you have the environment set up correctly: https://docs.microsoft.com/en-us/azure/azure-functions/create-first-function-vs-code-node#configure-your-environment
-
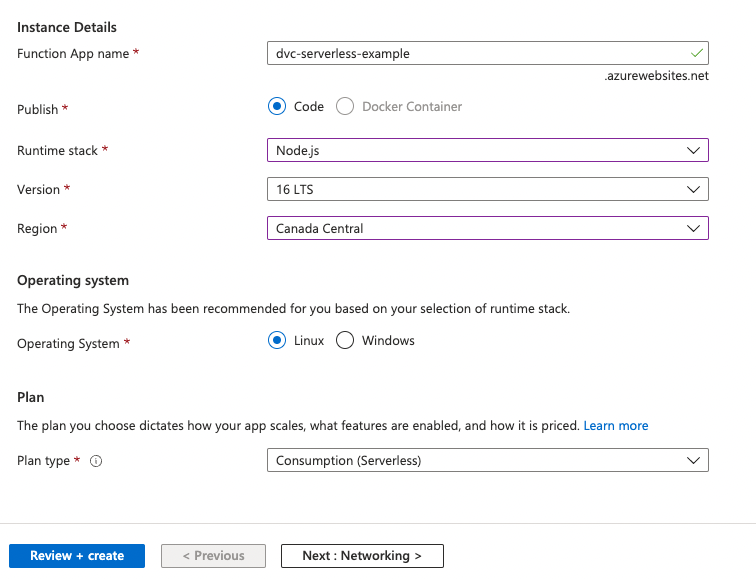
Go to your Azure portal and select one of your Function Apps with a Node.js runtime (using 16 LTS for this example) https://portal.azure.com/#view/HubsExtension/BrowseResource/resourceType/Microsoft.Web%2Fsites/kind/functionapp
If you don’t have a function app you can create one and below is the example configuration:
-
Clone the example code from above: https://github.com/DevCycleHQ/azure-functions-example
-
With the Azure Tools extension, you can click on the function cloned from the example code and deploy to the function app you have just created:


-
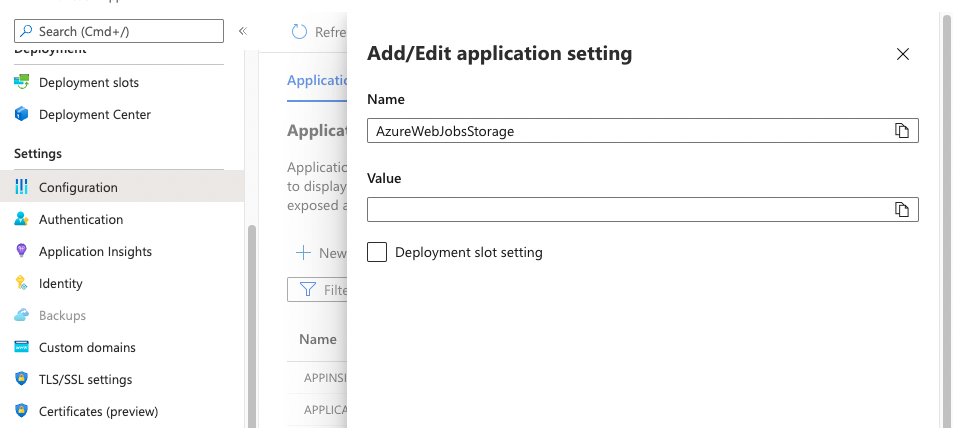
If you see a
AzureWebJobsStorageerror, here are the steps to solve:
-
checking your storage account > access keys
-
then copy the “Connection string”

-
Go to your function app configuration, click “New application setting”, and paste the copied connection string to “Value”
-
Save the configuration and deploy again in VSCode
-
-
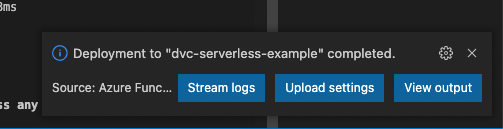
Once deployed, you should see this message
-
Go back to your Azure Portal and set the environment variable
SERVER_KEYin your function app configuration and save. You can learn more about SDK keys and where to find them here.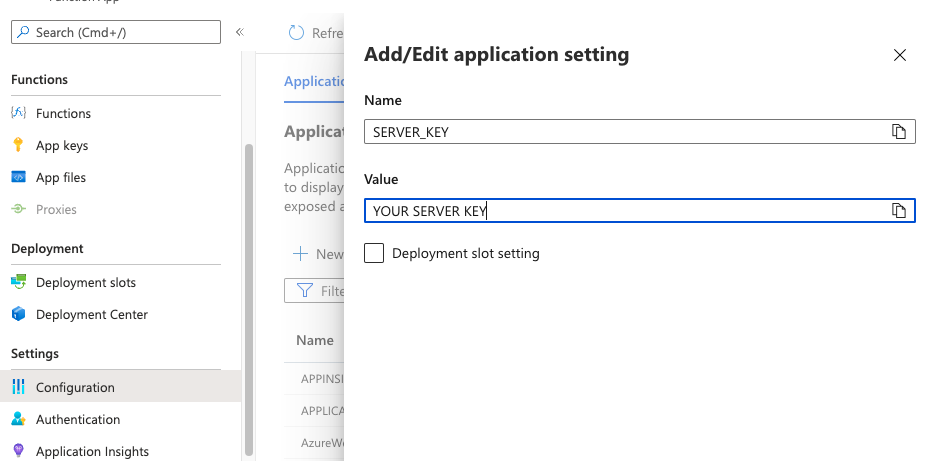
-
Go to your Function (i.e. HttpTrigger1), and “Test/Run” it
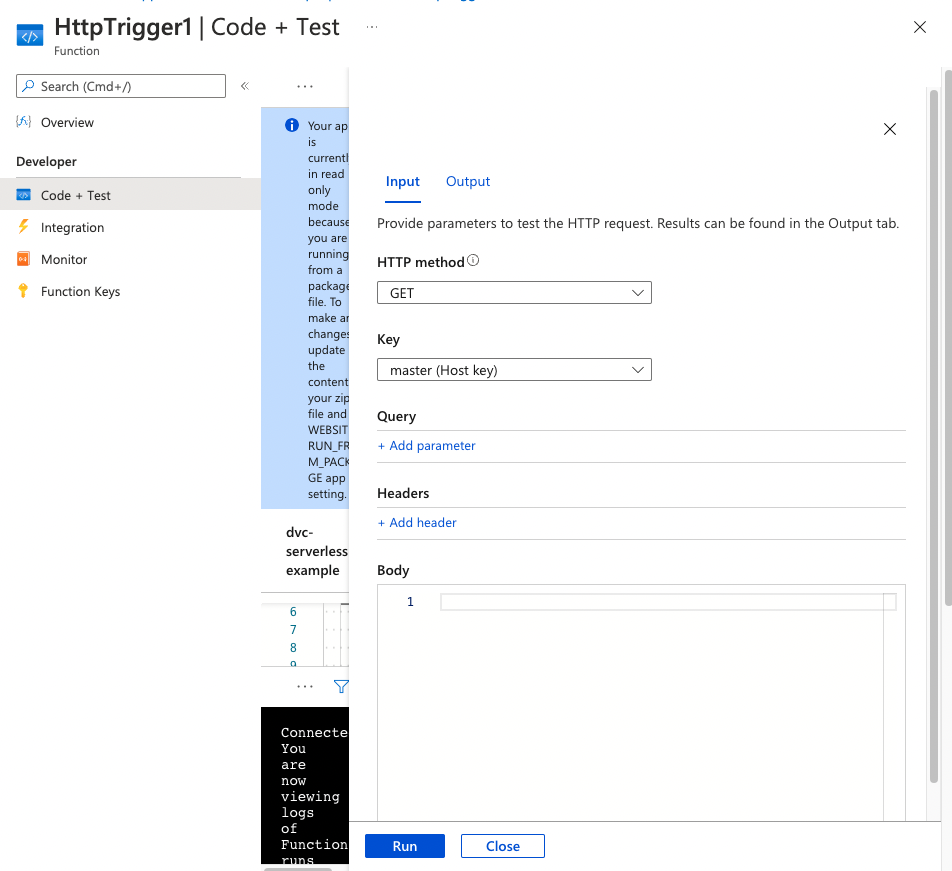
-
You should see the data you have set earlier in DevCycle dashboard!
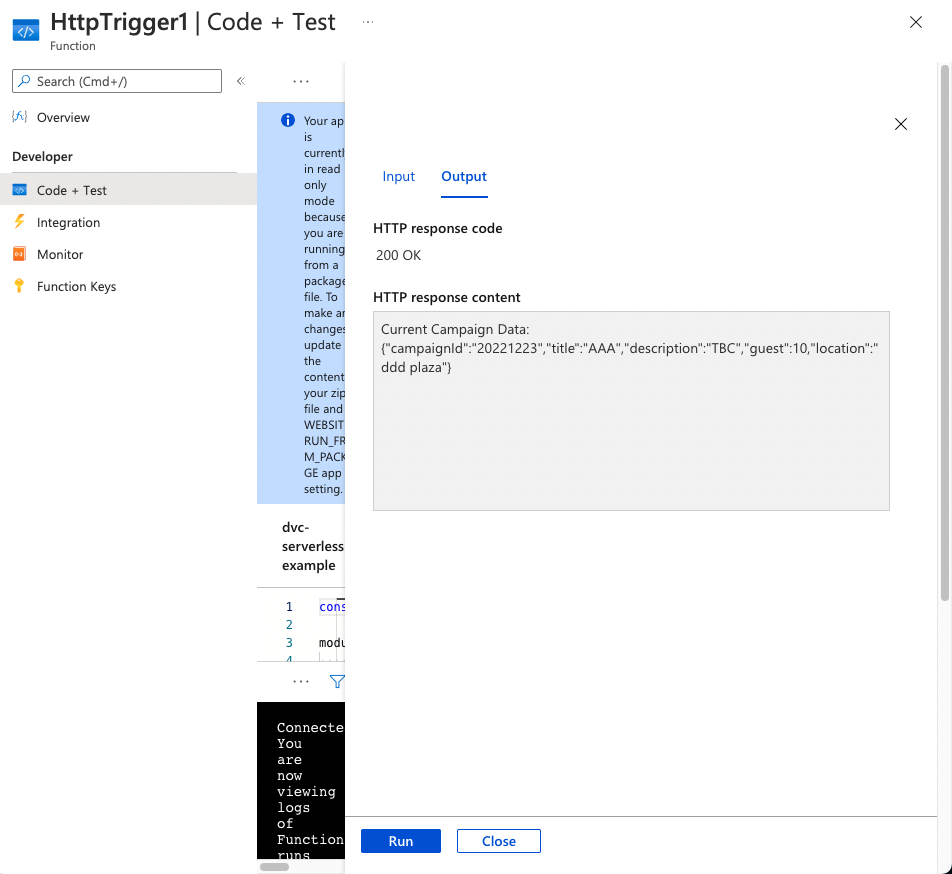
-
You can play around the feature flags we have set earlier and run the function again to see the result changed
-
For example, let’s “Serve” the “Variation Off” for
campaign-switchand “Save”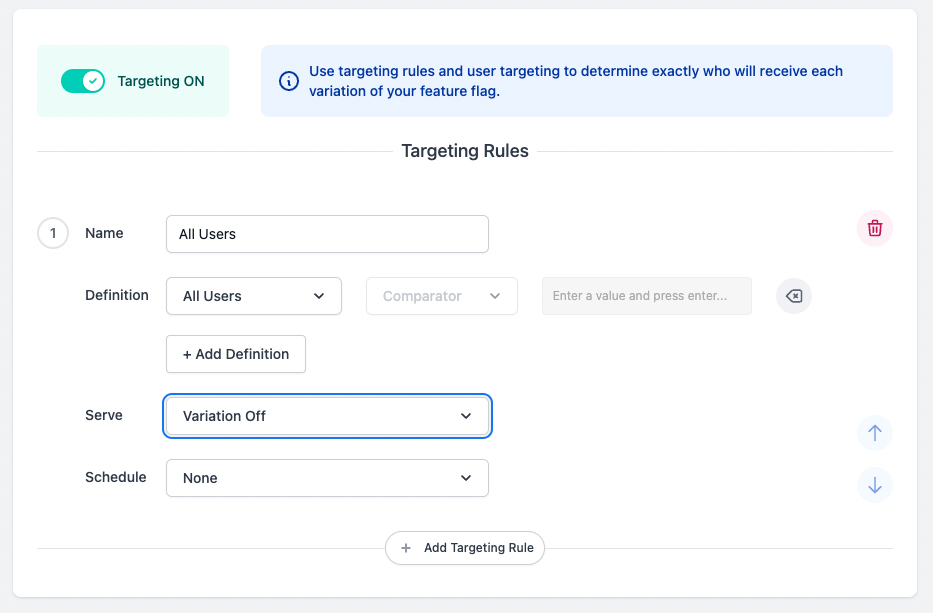
-
Run your function again
-
You should now see the following result
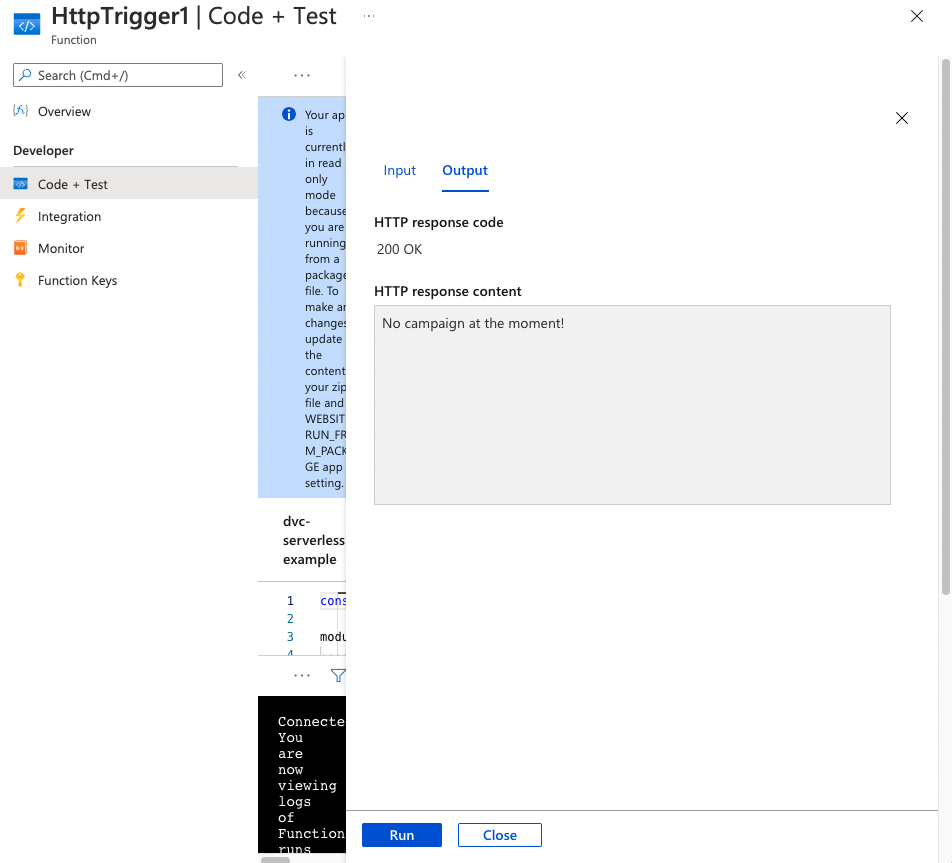
-
Enable EdgeDB (NodeJS SDK Version)
First, you need to enable EdgeDB in the DevCycle Dashboard
With the DevCycle NodeJs SDK we use the enableCloudBucketing and enableEdgeDB options to enable EdgeDB usage. (SDK initialization option details: )
const devcycleClient = initializeDevCycle(serverKey, {
  enableCloudBucketing: true,
  enableEdgeDB: true,
})
With EdgeDB enabled, you can save user data to our EdgeDB storage so that you don't have to pass in all the user data every time you identify a user.
Like this part of code from our example code, we only need to pass in the whole set of user data for the first time. After that, we only need user_id to get the rest of the data we have set in EdgeDB
const userWithAllData = {
	  user_id: "testuser_1234333",
	  email: "[email protected]"
};

const { value: hasCampaign } = await devcycleClient.variable(userWithAllData, "campaign-switch", false);
const { value: campaignData } = await devcycleClient.variable({ user_id: "testuser_1234333" }, "campaign-details", {});
const { value: proposedCampaignTitle } = await devcycleClient.variable({ user_id: "testuser_1234333" }, "dec-campaign-proposed-name", "");
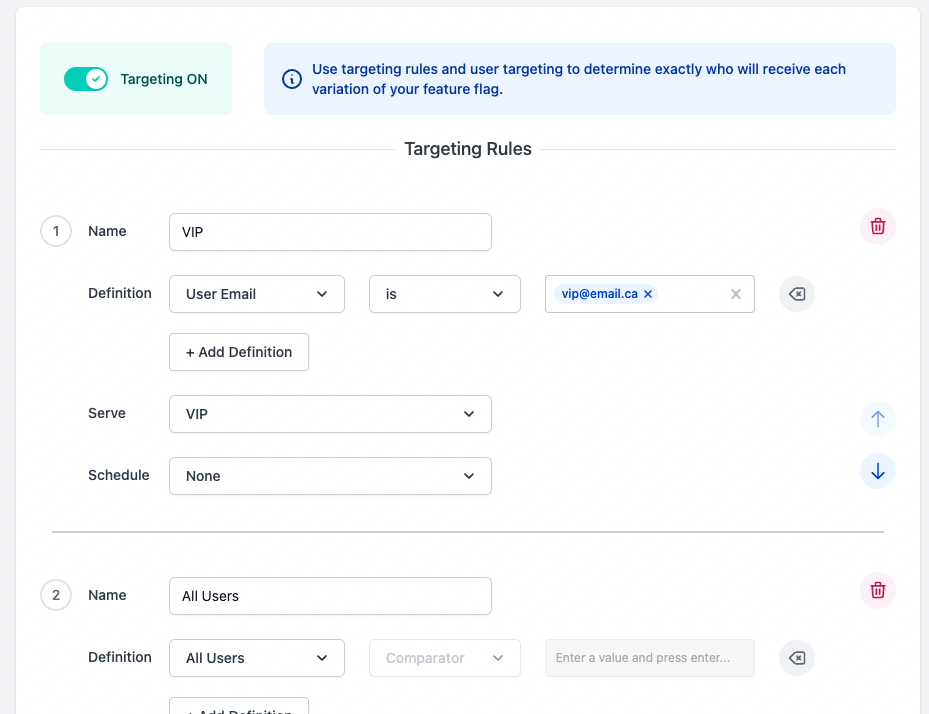
With the VIP variation set in dec-campaign-proposed-name, we can head to the dec-campaign-proposed-name Feature in the dashboard and test EdgeDB:
-
Add a targeting rule with name “VIP” and move it above “All User” rule.
-
In the Definition, select “User Email” and type in the email we have set in EdgeDB (i.e.
[email protected]) -
From the “Serve” dropdown, select “VIP”
-
Click “Save”
-
Go back to the Azure Function and run it again, you should see the “title” change to “VIP” which means we don’t need to pass in email in the below variable request and get the data
emailfrom EdgeDB!
const { value: proposedCampaignTitle } = await devcycleClient.variable({ user_id: "testuser_1234333" }, "dec-campaign-proposed-name", "");
And the result!
