Projects
Projects are nested within Organizations and contain your Features and Environments (and through them your keys, Variables and Variations).
Managing Projects
To view the current Project or change Projects, click the Projects dropdown (immediately to the right of the DevCycle logo) on the top left of the Dashboard. The currently viewed Project will have a green badge next to it.
You can also manage the Projects within the current Organization by navigating to the "Projects" page in the Organization settings. On this page is a list of all of your Organizations Projects.
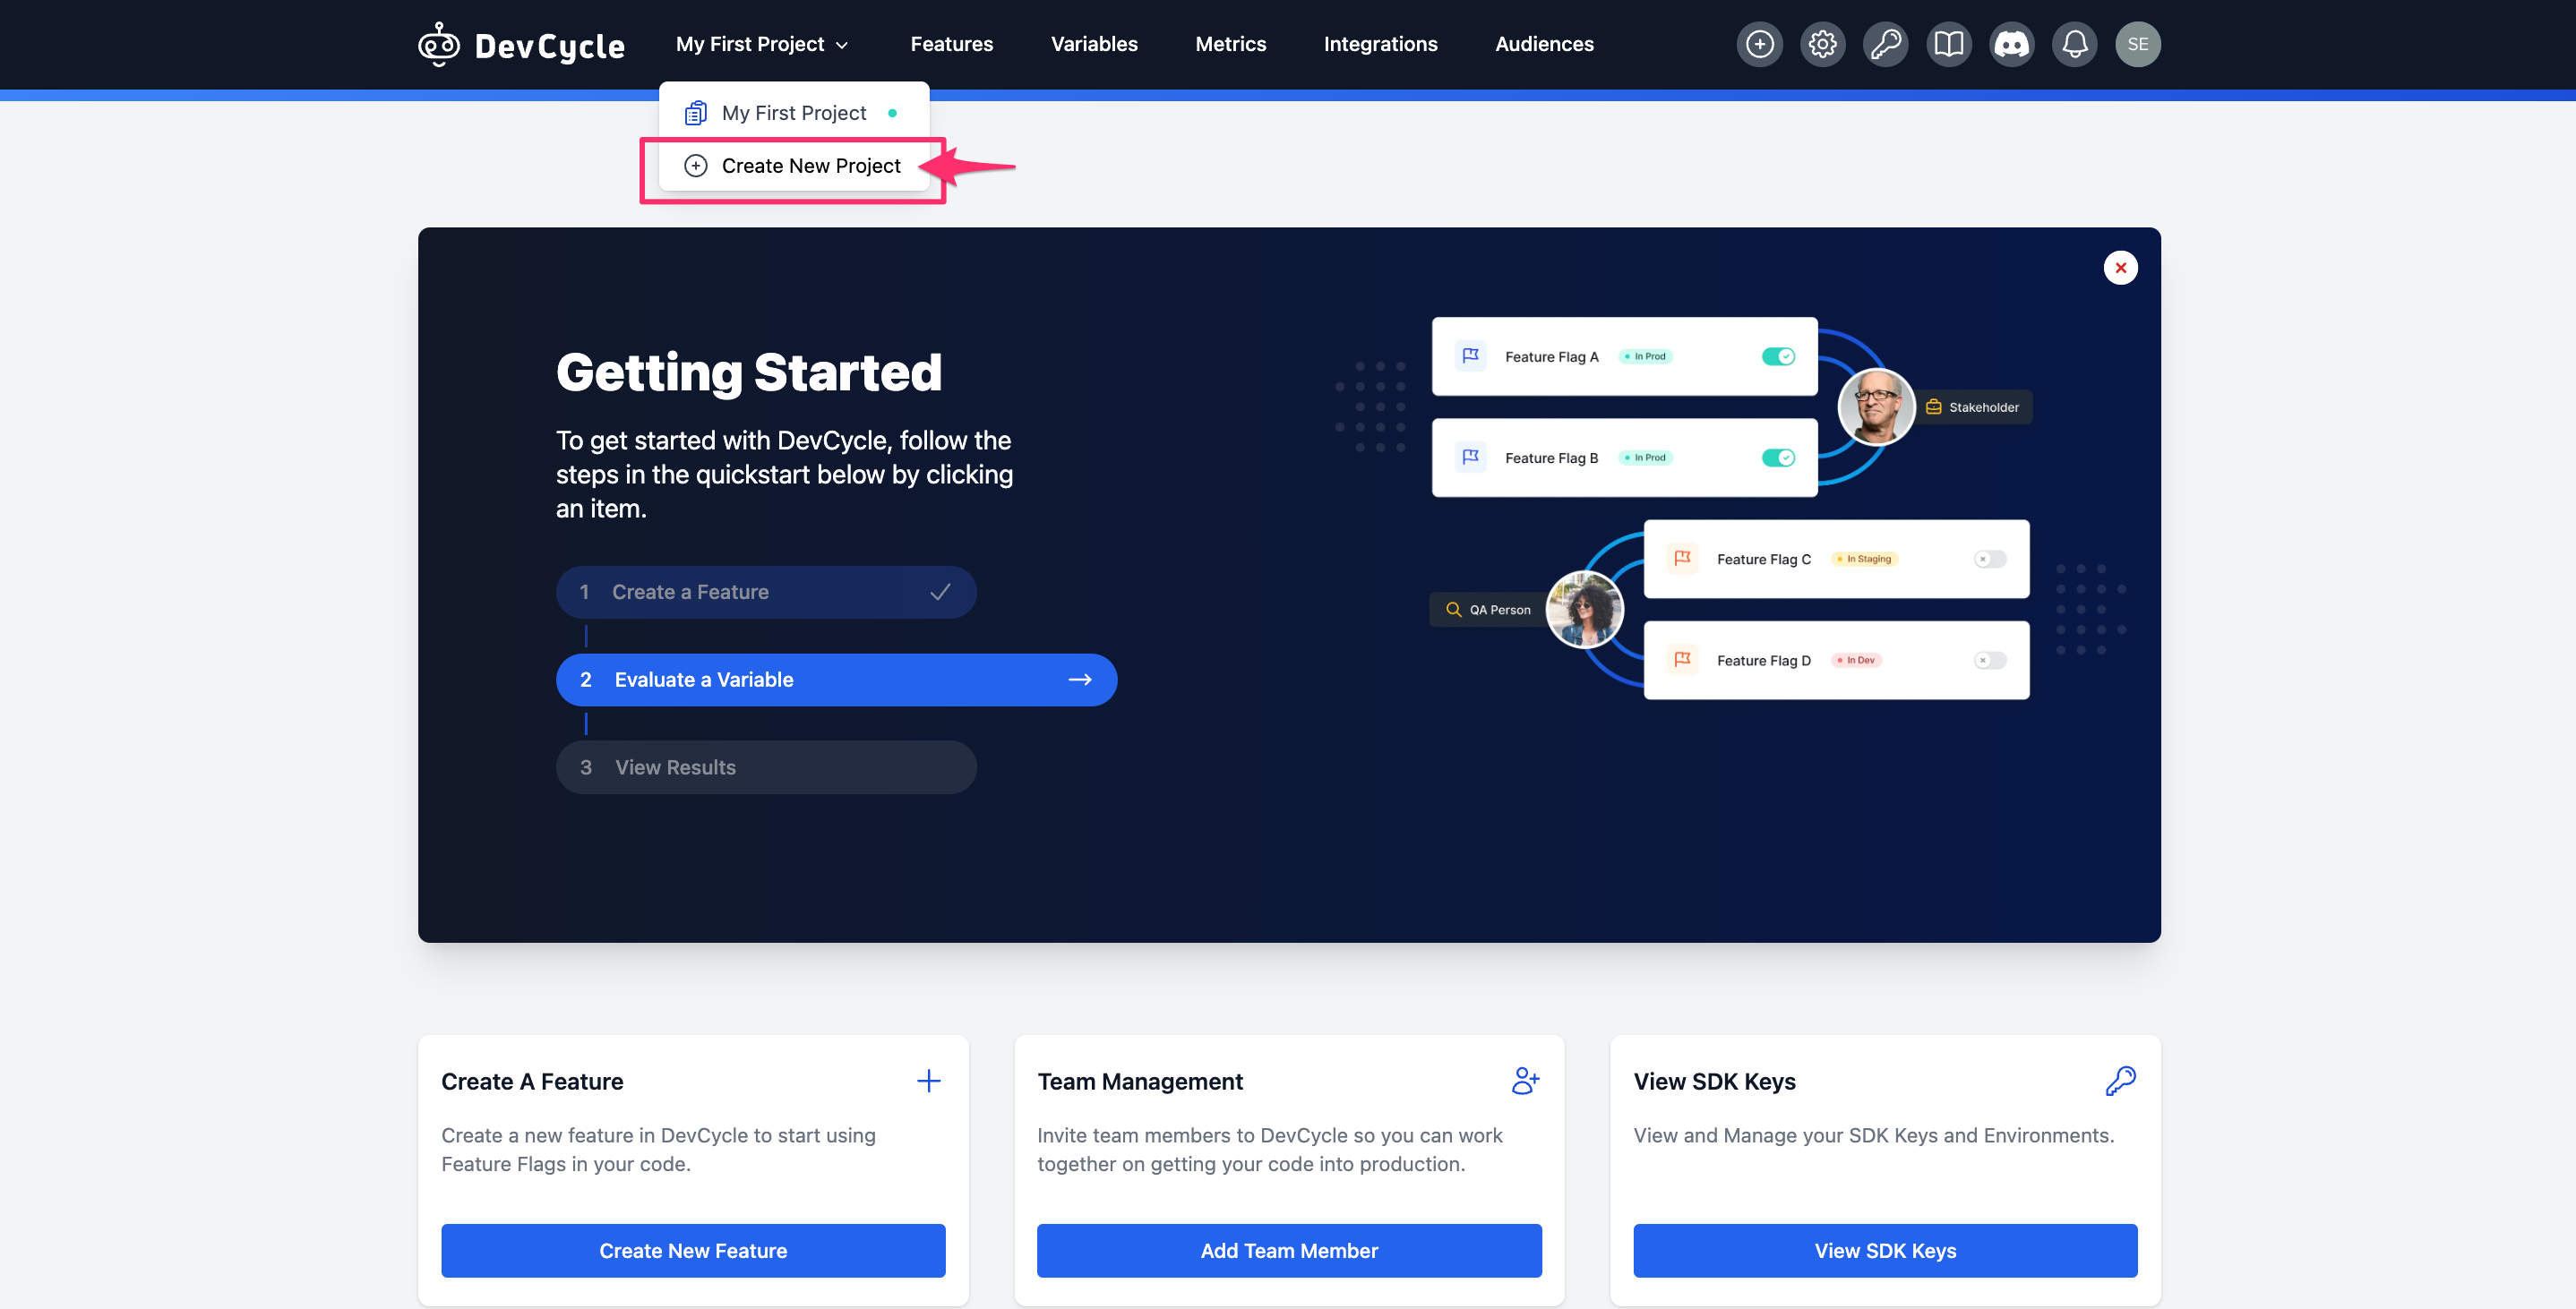
Creating a New Project
To create a new Project, click the + Create a new Project button in the Projects Dropdown.
This will open the create Project modal which has the following fields:
| Name | This is the Project's name which will be visible throughout the DevCycle dashboard. This may be changed at a later time. |
| Key | This is the Project's unique key which is used to reference the Project in the Management API. |
| Description | A descriptive text about the Project. Can be changed at a later time. |
Once created, the Project will be created and will have three Environments: Development, Staging, and Production. This Project will immediately be ready for use and Features can now be created within it.
Updating a Project
Navigate to your user settings by clicking on your avatar in the upper right hand corner of the screen or clicking the cog icon (⚙️) in the top navbar. Once on the settings page click the Edit button on the Project's row on the Project list. This will bring up the editing window, which allows you to modify the relevant settings.
Deleting a Project
Navigate to your user settings by clicking on your avatar in the upper right hand corner of the screen or clicking the cog icon (⚙️) in the top navbar. Once on the settings page, select Projects from the left hand menu and click the Delete button beside the relevant Project.